Smeg SCP38X Betriebsanweisung
Stöbern Sie online oder laden Sie Betriebsanweisung nach Öfen Smeg SCP38X herunter. Smeg SCP38X Benutzerhandbuch
- Seite / 24
- Inhaltsverzeichnis
- FEHLERBEHEBUNG
- LESEZEICHEN
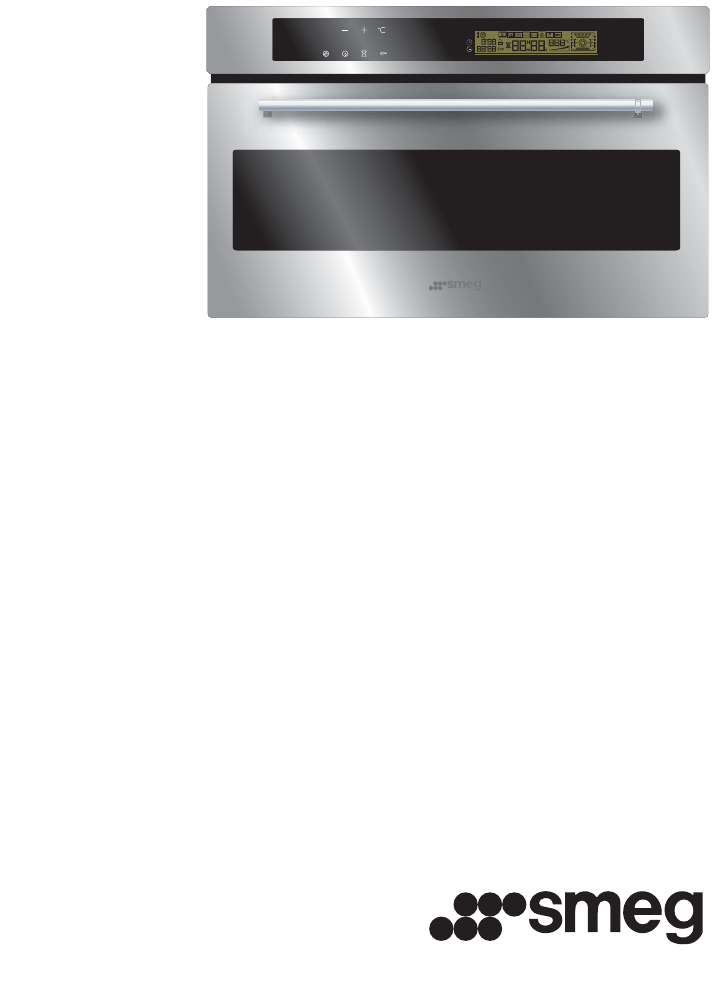
- SSCCPP3388XX 1
- SAFETY INSTRUCTIONS 3
- CARE FOR THE ENVIRONMENT 4
- CHOICE OF LOCATION 5
- ELECTRIC CONNECTION 6
- 2 / INSTALLING YOUR APPLIANCE 7
- INTRODUCTION TO YOUR OVEN 8
- ACCESSORIES 9
- How to set the time 11
- •Instant cooking 12
- PROGRAMMED COOKING 13
- USING THE TIMER FUNCTION 15
- LOCKING THE CONTROLS 16
- OVEN IS OFF 16
- ACTIVATING DEMO MODE 16
- 5 / OVEN COOKING MODES 17
- CLEANING THE OUTER SURFACES 18
- PYROLYTIC OVEN 19
- PROGRAM A PYROLYSIS 20
- 7 / TROUBLESHOOTING 22
- CHANGING THE BULB 23
- • REPAIRS 24
Inhaltsverzeichnis
SSCCPP3388XXIT MANUALE D'USOEN USER GUIDEDE BETRIEBSANLEITUNGNL GEBRUIKSAANWIJZINGFR GUIDE D'UTILISATIONES MANUAL DE UTILIZACIÓNPT MANUAL DE
113 / DESCRIPTION OF YOUR APPLIANCEEN••INTRODUCTION TO THE PROGRAMMERAKCDEGJILFBHMABCooking modes displayOven temperature display.Shelf support indica
124 / USING YOUR APPLIANCEEN•How to set the time--When supplied with electricityThe display flashes at 12:00 (fig.1)Set the time by pressing the + or
134 / USING YOUR APPLIANCEEN•Instant cooking— The programmer should display only thetime. It should not be flashing.Press the SSTTAARRTT(fig.1) touch
144 / USING YOUR APPLIANCEEN--Cooking with immediate start andprogrammed duration- Select the desired cooking mode and adjustthe temperature (see para
154 / USING YOUR APPLIANCEEN--Cooking with delayed start and chosencooking end timePPrroocceeeedd aass wwiitthh pprrooggrraammmmeedd ccooookkiinng
CUSTOMISING THE RECOMMENDED TEMPERATURESelect the cooking function:- Press the SSTTAARRTT button.If you wish to customize the recommended temperatu
174 / USING YOUR APPLIANCEENLOCKING THE CONTROLSOVEN IS OFF (child safety)You have the option of preventing access tothe oven controls by taking the f
185 / OVEN COOKING MODESEN* Programme(s) used to obtain the results indicated on the energy label in compliance with Europeanstandard EN 50304 and in
195 / OVEN COOKING MODESENKKEEEEPPIINNGG WWAARRMM(recommended temperature 8800°°CCmin 35°C max 100°C)•This position allows you to keep your food warm
206 / CARING FOR AND CLEANING YOUR APPLIANCEEN- Your oven cleans itself via high-temperature elimination of soil caused by spills and splattering.- Th
3TABLE OF CONTENTSEN1 / INFORMATION FOR THE USER•• Safety instructions_________________________________________04•• Care for the environment________
216 / CARING FOR AND CLEANING YOUR APPLIANCEEN--Check that the programmer is displaying thetime of day and that it is not flashing.You can choose betw
226 / CARING FOR AND CLEANING YOUR APPLIANCEEN•Delayed pyrolysis--Follow the instructions described in the“Programming for immediate pyrolysis”section
237 / TROUBLESHOOTINGENTipIn all circumstances, if your efforts are not sufficient, contact the After-Sales ServiceDepartment without delay.IIff yyo
247 / TROUBLESHOOTINGENBulbUnscrewPortThe bulb is located on the ceiling of youroven’s cavity.a) Unplug the oven.b) Unscrew the lighting port (fig.1).
258 / AFTER-SALES SERVICEENAny repairs that are made to your appliancemust be handled by a qualified professionalauthorised to work on the brand. When
41 / INFORMATION FOR THE USERENSAFETY INSTRUCTIONS— This oven was designed for use by privatepersons in their homes. It is intended solelyfor cooking
51 / INFORMATION FOR THE USERENCARE FOR THE ENVIRONMENT••— This appliance’s packing materials are recyclable. Recycle them and play a role in protecti
62 / INSTALLING YOUR APPLIANCEENFITTINGTo do this:1) Remove the rubber screw covers to accessthe mounting holes.2) Drill a Ø 2 mm hole in the cabinet
72 / INSTALLING YOUR APPLIANCEEN••ELECTRIC CONNECTIONSingle-phase 20A Counter220-240V~ 50HzElectrical outlet 2 prong receptacle + earthCEI Standard 60
82 / INSTALLING YOUR APPLIANCEENWarningWe cannot be held responsible for any accident or incident resulting from non-existent, defective or incorrect
93 / DESCRIPTION OF YOUR APPLIANCEENINTRODUCTION TO YOUR OVEN••STARTSTOPABControl barProgrammerLampCDEWire shelf supportsHole for rotisserieDCBA•Acces
103 / DESCRIPTION OF YOUR APPLIANCEEN••Safety grid with handle (fig.1)Equipped with a front handle for a better grip.The grid can be used to hold all
Verwandte Produkte und Handbücher für Öfen Smeg SCP38X
 (62 Seiten)
(44 Seiten)
(36 Seiten)
(24 Seiten)
(4 Seiten)
(2 Seiten)
(6 Seiten)
(5 Seiten)
(5 Seiten)
(5 Seiten)
(14 Seiten)
(1 Seiten)
(6 Seiten)
(1 Seiten)
(3 Seiten)
(4 Seiten)
(3 Seiten)
(4 Seiten)
(6 Seiten)
(5 Seiten)
(62 Seiten)
(44 Seiten)
(36 Seiten)
(24 Seiten)
(4 Seiten)
(2 Seiten)
(6 Seiten)
(5 Seiten)
(5 Seiten)
(5 Seiten)
(14 Seiten)
(1 Seiten)
(6 Seiten)
(1 Seiten)
(3 Seiten)
(4 Seiten)
(3 Seiten)
(4 Seiten)
(6 Seiten)
(5 Seiten)
© 2020, manymanuals.de. Alle Rechte vorbehalten. | 1.389 s |
 Manymanuals.com
 Manymanuals.de
 Manymanuals.fr
 Manymanuals.it
 Manymanuals.pl
 Manymanuals.cz
 Manymanuals.es
 Manymanuals-pt.com
Kommentare zu diesen Handbüchern